
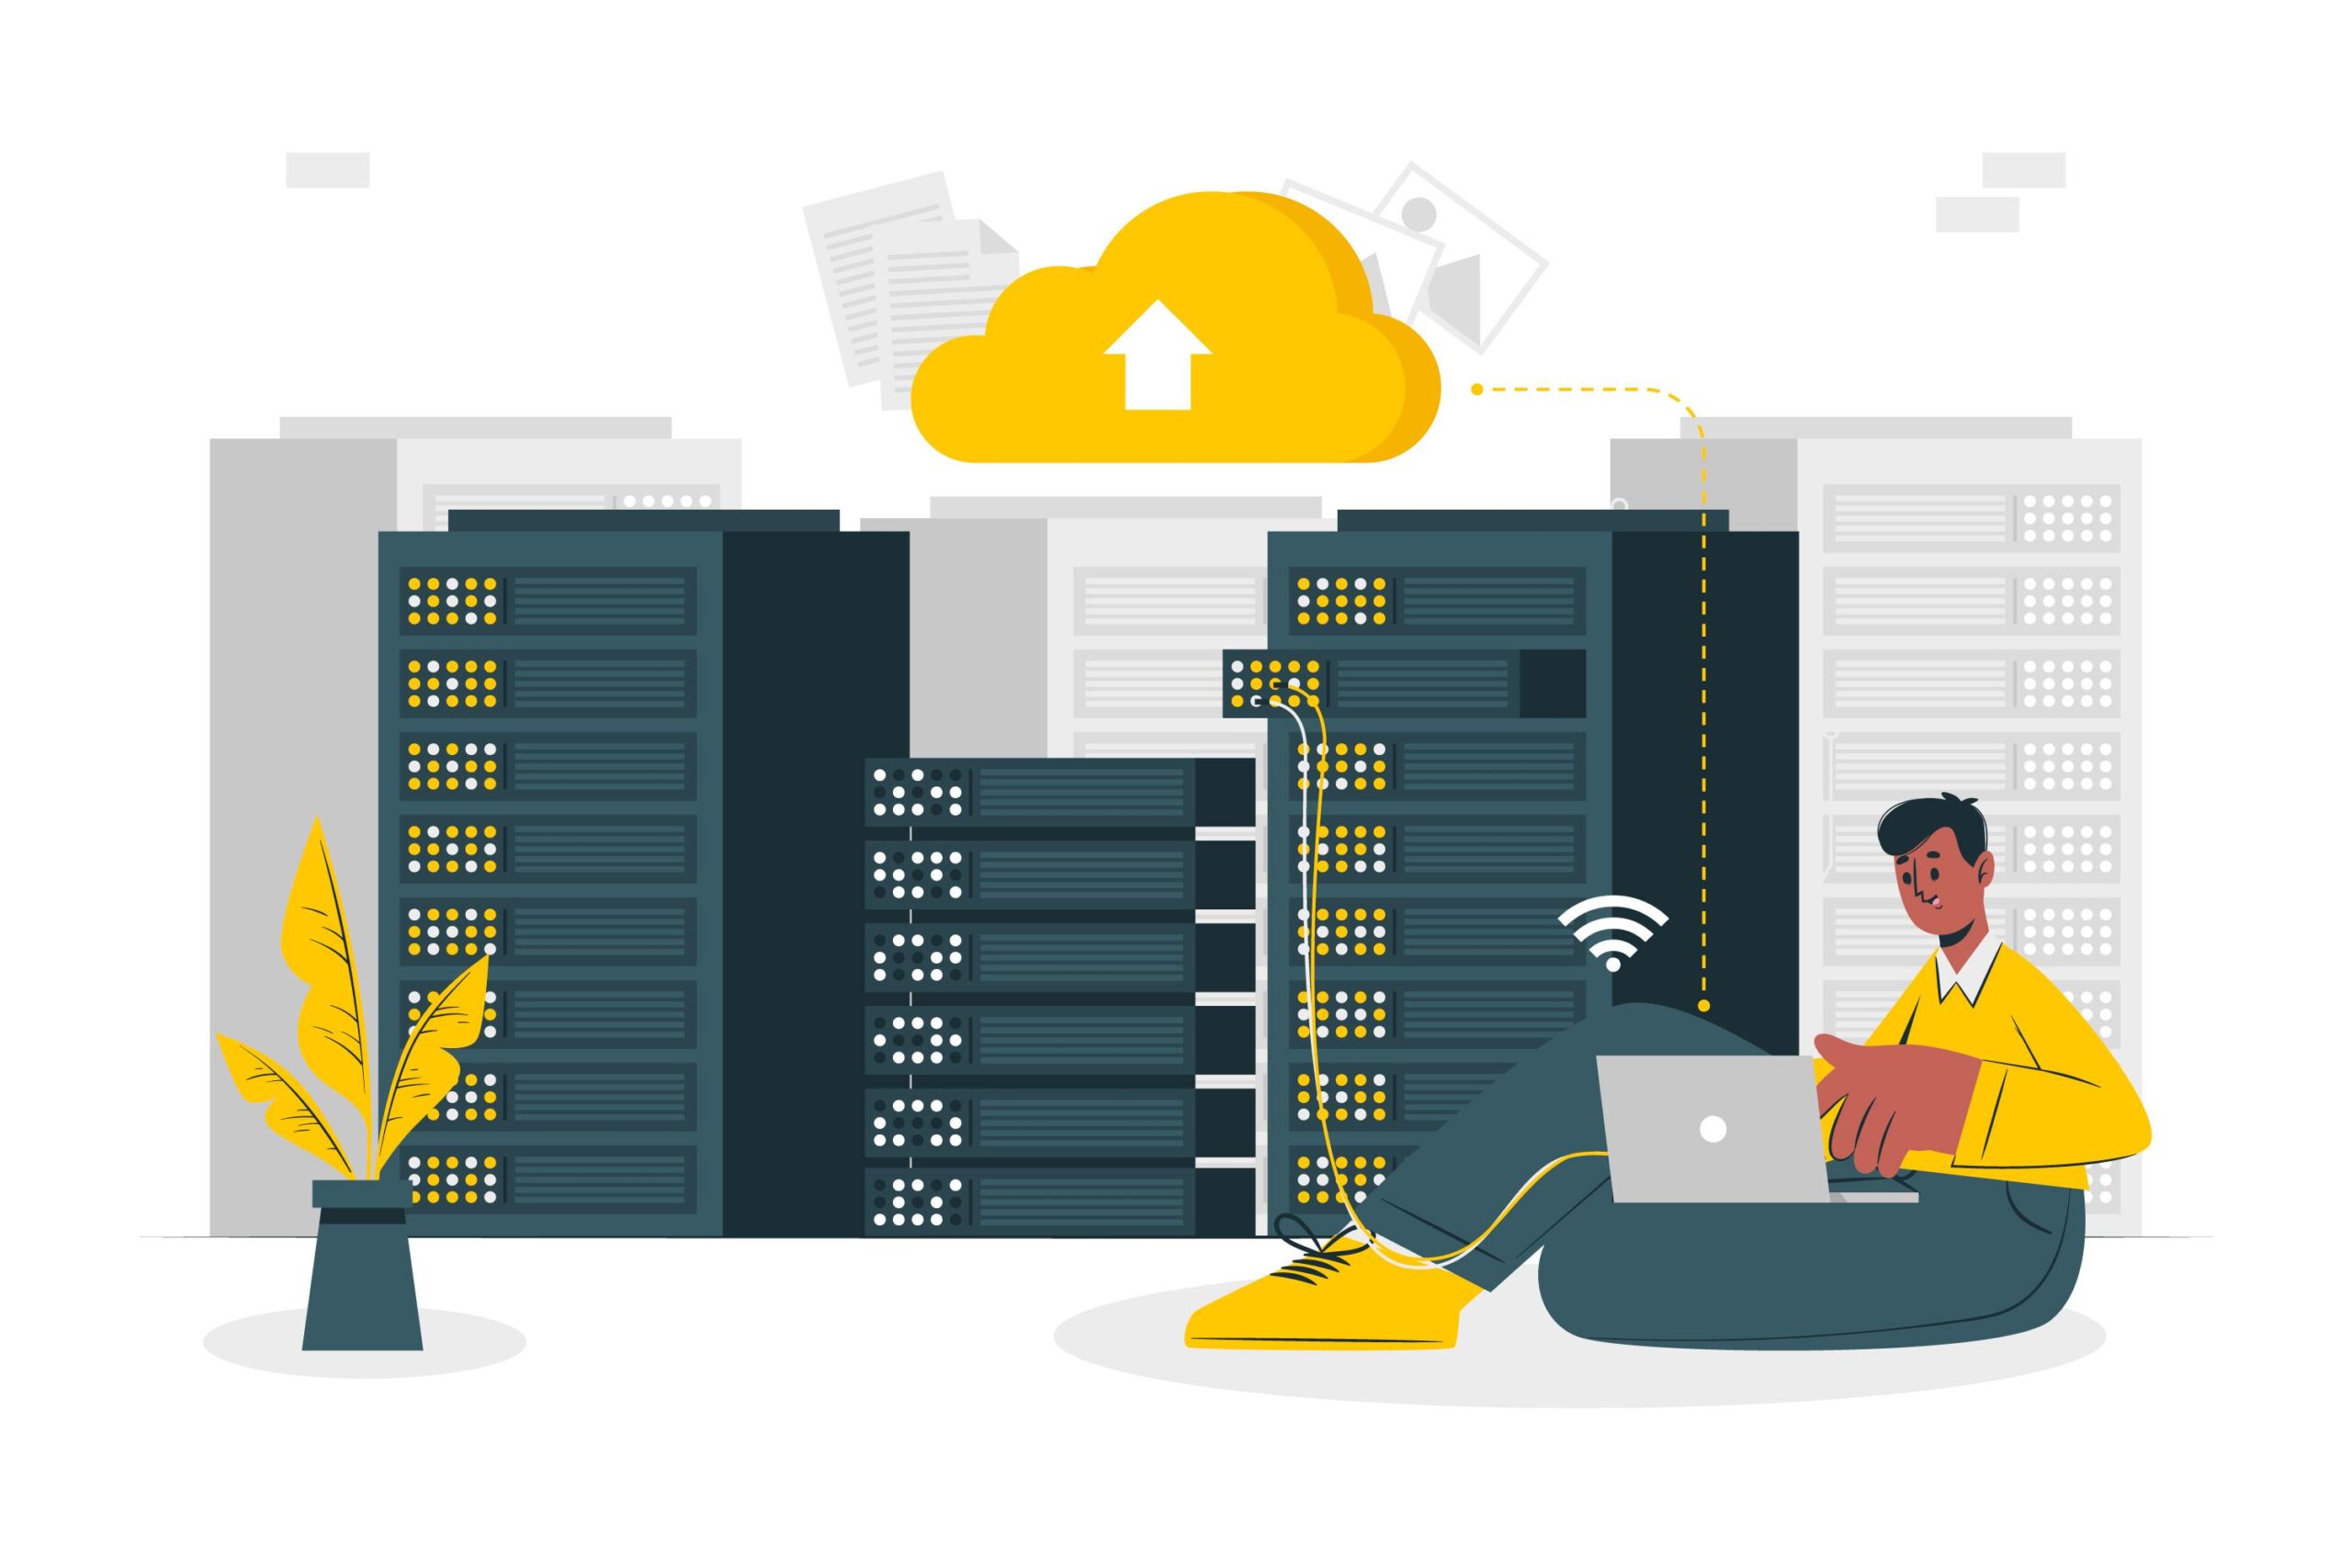
Choose a powerful hosting
Your WordPress hosting service plays a major role in website performance. What makes a good hosting provider? A good hosting provider takes the extra measures to optimize your website for performance and provides good customer support. There are a few types of hosting on the market:
- Shared hosting – you share the server resources with many other people. If one of them gets a traffic peak, your website may be impacted. You need to be careful.
- Dedicated hosting – in this model, a hosting provider rents a single server with all its available resources to one client: you. You are free to do whatever you want with your server, and it’s good for your loading speed.
- Managed WordPress hosting – that gives you the most optimized server configurations to run your WordPress site. Those companies know WordPress inside out and offer features dedicated to WordPress, such as automatic WordPress updates, security configurations, and much more.
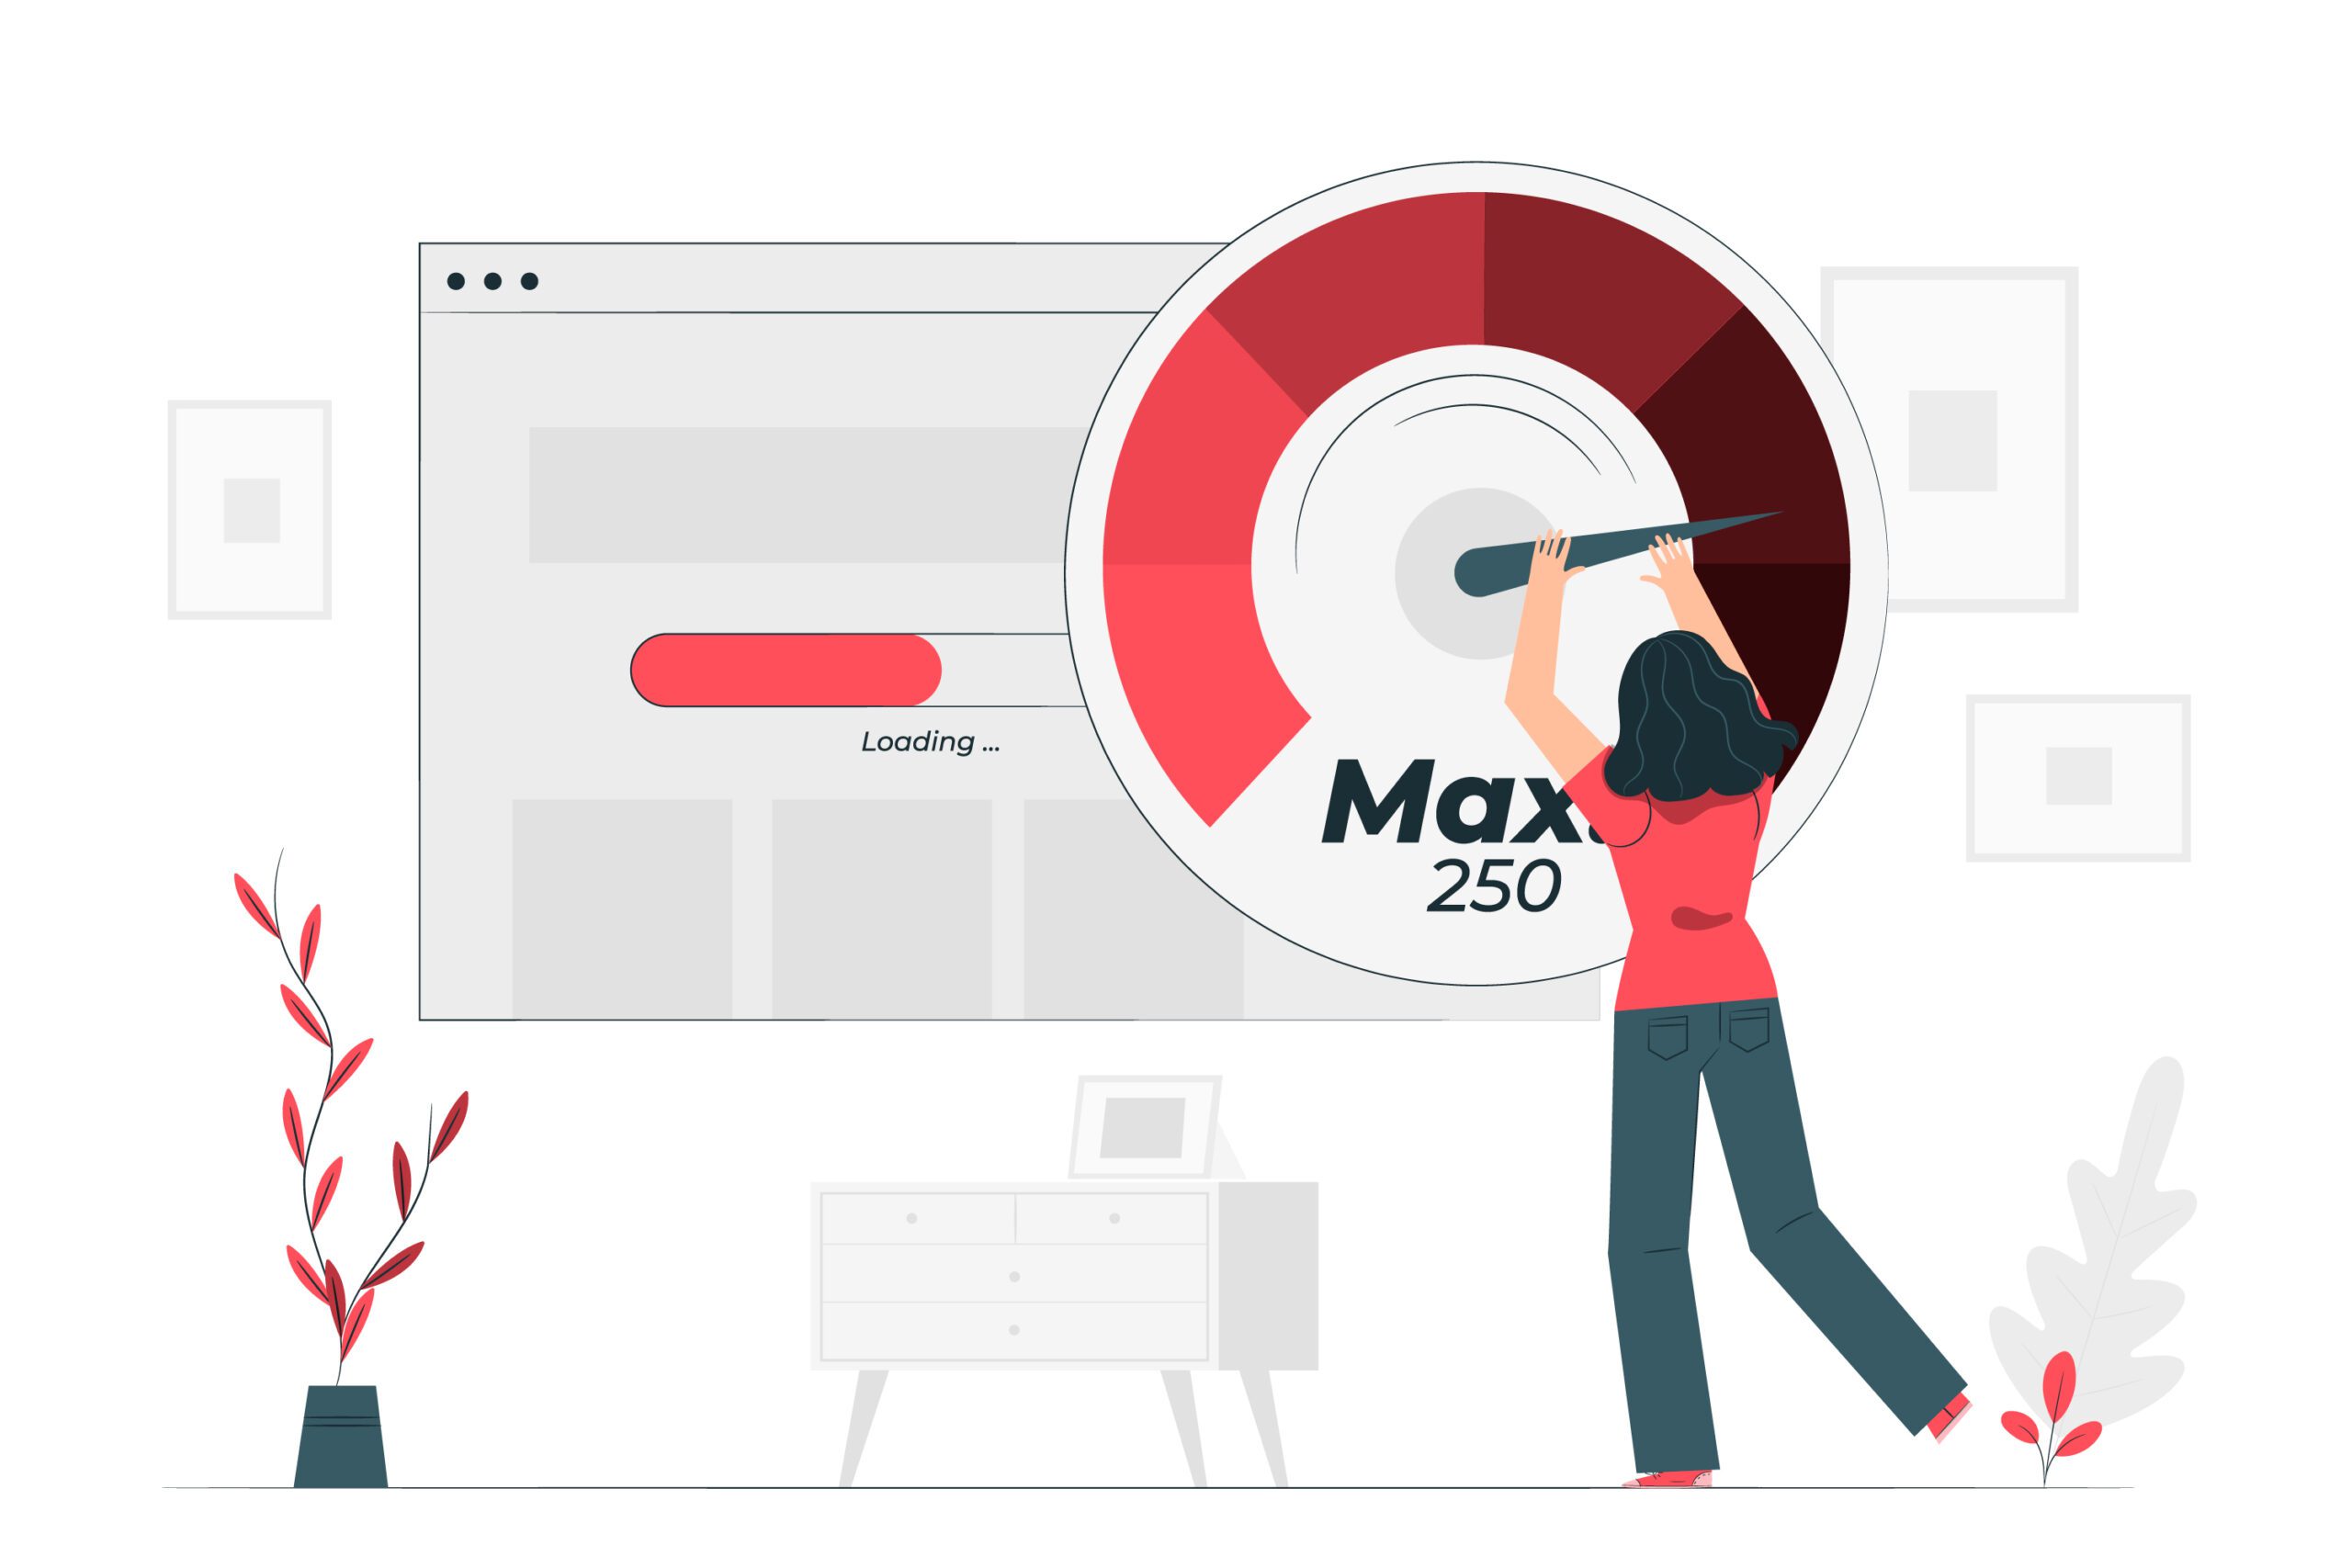
Use a cache plugin for speed optimization
Are you looking for a caching or minifying plugin for WordPress? Or just looking for ways to speed up your WordPress installation?
In this post, you’ll discover 10 powerful plugins that will make your WordPress website load faster. You’ll find caching plugins, minifying plugins, lazy loading plugins, and some additional plugins that allow you to make various tweaks to your website.
1. WP Rocket
2. Perfmatters
3. NitroPack
4. WP Fastest Cache
5. Cache Enabler
6. WP Super Cache
7. W3 Total Cache
8. WP Super Minify
9. WP Smush.it
10. LazyLoad by WP Rocket
Read more: https://bloggingwizard.com/free-speed-enhancing-wordpress-plugins/
Optimize your images and use lazy loading
Resizing and compressing your images correctly before uploading is a must-do if you want to have a performant web page.
But what happens after images are uploaded? Is there a way to optimize them a bit more and improve page loading time?
The answer is yes!
What’s Lazy Loading for Images and How It Works
The basic idea of lazy loading is to load images or iframes only when users need to display them: they won’t have to wait for all the elements in the page to be loaded and, therefore, can start using the web page sooner.
This means that your pages will only show images above the fold; the rest will come as soon as the user scrolls the page.
How Does a Web Page Usually Load?
Whenever you ask your browser to open a URL, this is what happens:
- The click on a link triggers a request
- The page is downloaded with all its resources (files)
- The web browser builds the page using the resources contained in it
- The page is now displayed (rendered) to the user
Read more: https://wp-rocket.me/blog/lazyloading/
Best Practices to Improve Speed
Use the right theme: choose a theme optimized for speed
Don’t use a slider on your header
Eliminate bloated plugins
Upload large media files to suitable services
Make use of a Content Delivery Network (CDN).
Make regular WordPress updates
Limit post revisions
Other Things to Look at When Optimizing Your WordPress Website for Speed
Here are a few tips to speed up your WordPress site:
- Use a fast and reliable hosting service
- Optimize your images before uploading to the media library
- Use a caching plugin, such as WP Rocket or W3 Total Cache
- Minimize the number of plugins installed
- Minimize HTTP requests by combining and minifying CSS and JavaScript files
- Use a Content Delivery Network (CDN) to serve static files
- Regularly update WordPress, plugins, and themes to the latest version
- Lazy load images and videos to reduce the amount of data needed to load a page
- Use a theme optimized for speed and performance
- Use a database optimization plugin to clean up and optimize your database.
Implementing these tips can significantly improve your website’s loading speed and overall performance.
How to Optimize Photos
Here are some tips to optimize your photos for the web:
- Resize the images to an appropriate size: Large images take longer to load, so make sure to resize them to the size you need for your website.
- Compress the images: Image compression reduces the file size without significantly affecting the quality of the image. You can use tools like TinyPNG or Compress JPEG to compress your images.
- Use the right image format: JPEG is best for photographs, PNG for graphics and icons, and GIF for simple animations.
- Reduce the color depth: Decreasing the number of colors in an image can reduce its file size.
- Choose an appropriate compression level: A higher compression level will result in a smaller file size, but also lower image quality. A balance must be struck between image quality and file size.
- Use CSS and HTML to adjust the display size: Instead of resizing images in an image editing program, you can set the size of the images in HTML or CSS.
- Use lazy loading for images: Lazy loading allows images to be loaded only when they become visible on the screen, reducing the amount of data needed to load a page.
By following these tips, you can optimize your images for the web, improving your website’s loading speed and overall performance.
Content Delivery Network (CDN)
A Content Delivery Network (CDN) is a system of servers located in multiple data centers around the world. The primary purpose of a CDN is to distribute the delivery of static content, such as images, videos, and style sheets, to visitors of a website.
When a visitor accesses a website that uses a CDN, the content is served from the nearest data center, rather than the website’s main server. This reduces the distance that the data has to travel, resulting in faster load times for the visitor.
In addition to improving website performance, CDNs also provide other benefits such as increased security, reduced server load, and increased reliability, as the content is served from multiple locations.
Overall, CDNs are an effective way to improve website performance and provide a better user experience for visitors.
How to use a CDN for WordPress Website
Using a CDN for your WordPress website is relatively straightforward and can be done in a few steps:
- Choose a CDN provider: There are many CDN providers to choose from, each with its own features and pricing. Some popular options include Cloudflare, StackPath, and Amazon CloudFront.
- Sign up for an account with the chosen CDN provider: You’ll need to create an account and configure your website’s settings with the provider.
- Install and activate a CDN plugin: There are several WordPress plugins available that make it easy to integrate a CDN with your website, such as W3 Total Cache or Cloudflare.
- Configure the plugin: Once the plugin is installed and activated, you’ll need to configure it with your CDN account details and other settings.
- Update your DNS records: To make sure your website’s domain name is properly linked to the CDN, you’ll need to update your domain’s DNS records. The specific steps will depend on your CDN provider.
- Test the CDN integration: After you’ve completed the setup, you should test your website to make sure everything is working correctly and that your static content is being served from the CDN.
By following these steps, you can easily integrate a CDN with your WordPress website and start reaping the benefits of improved performance and security.
What is a Database Optimization Plugin for WordPress and How Do I Integrate One?
A database optimization plugin for WordPress helps to clean up and optimize the database of a WordPress website. Over time, the database can become cluttered with old data, such as post revisions, spam comments, and unoptimized tables, which can slow down the website.
Here are the steps to integrate a database optimization plugin for WordPress:
- Choose a plugin: There are several database optimization plugins available for WordPress, including WP-Optimize, Optimize Database after Deleting Revisions, and WP Clean Up.
- Install and activate the plugin: Login to your WordPress dashboard, go to the “Plugins” section, and search for the plugin you have chosen. Click “Install” and then “Activate.”
- Configure the plugin: Once the plugin is activated, you’ll need to configure its settings. This may include options such as which data to clean up, how often to run optimization, and what type of optimization to perform.
- Run the optimization: You can run the optimization process manually or set it to run automatically on a schedule. The specific steps will depend on the plugin you are using.
- Check the results: After the optimization process is complete, you can check the results to see how much space was saved and if there were any errors.
By integrating a database optimization plugin for WordPress, you can help keep your website’s database clean and optimized, improving its performance and speed.


Related items

In 2025, small businesses are seeing a dramatic shift in digital marketing effectiveness. While social media platforms continue to be a valuable tool for brand awareness and customer engagement, they no longer deliver the same ROI for businesses as they once did. Instead, businesses that focus on Google Business Profile (GBP) optimization, website SEO, and strategic customer reviews are seeing far greater success in attracting and converting leads.
This shift isn’t surprising when considering how search intent-based marketing vastly outperforms disruptive social media marketing in driving real business results. In this in-depth analysis, we’ll explore why Google Business, SEO, and review optimization outperform typical social media efforts and how your business can capitalize on this trend.
The Changing Landscape of Digital Marketing in 2025
In the early days of social media marketing, organic reach was relatively high. Businesses could post updates, promotions, and images, and a significant portion of their followers would see them. However, over the years, platforms like Facebook, Instagram, and LinkedIn have shifted toward paid models, drastically reducing organic visibility for business pages.
Declining Organic Reach on Social Media
-
- Facebook organic reach for business pages is now less than 2%.
- Instagram engagement is increasingly driven by short-form video, which requires constant content creation.
- TikTok and YouTube Shorts can generate views but rarely drive conversions without an optimized funnel.
- LinkedIn has seen increased ad costs, making it difficult for small businesses to compete.
These changes mean that while social media can still be useful for engagement and brand presence, it is not the primary driver of search-based leads or high-converting traffic anymore. Instead, businesses must pivot toward search engine optimization (SEO), Google Business Profile (GBP) optimization, and customer review strategies to stay ahead.
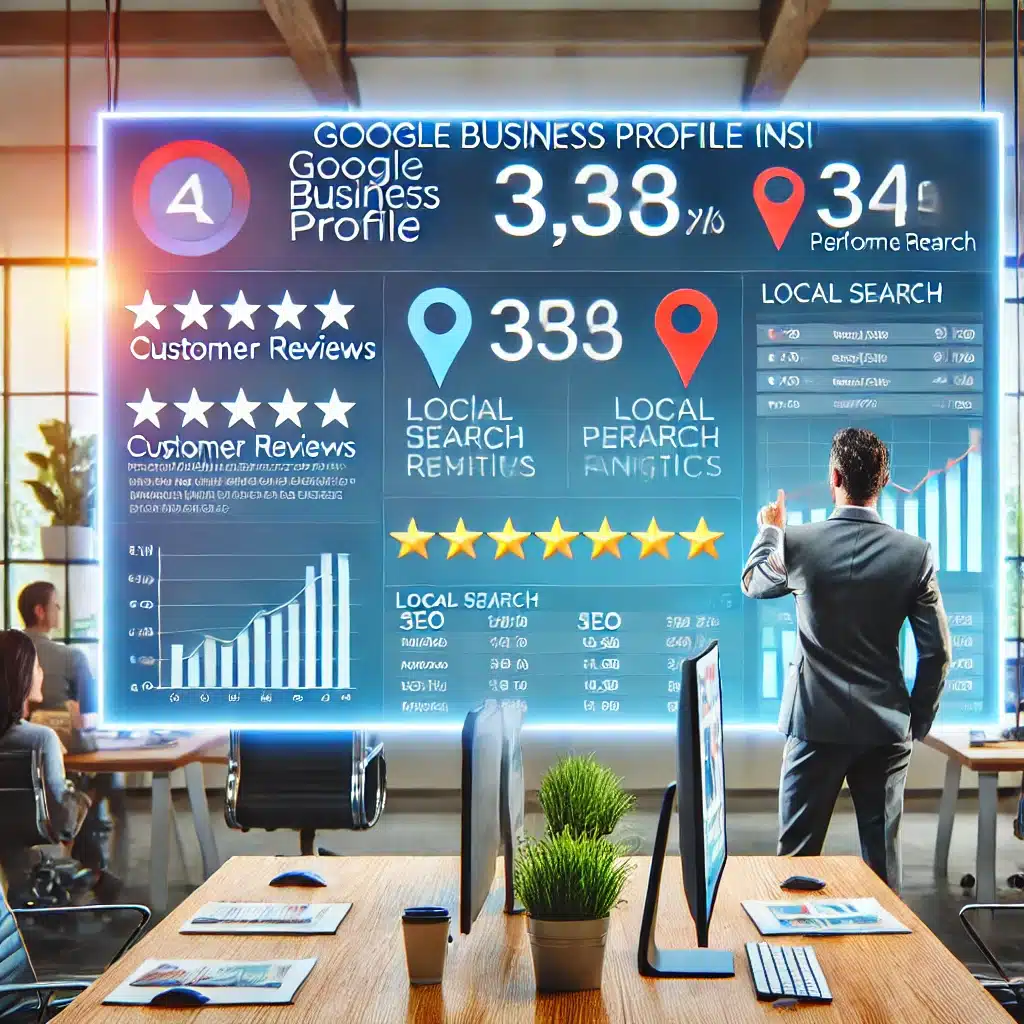
Why Google Business Profile (GBP) Is More Powerful Than Social Media
Your Google Business Profile is your digital storefront in search results and Google Maps. Optimizing your GBP ensures that customers looking for services in your area find and choose your business first.
The Power of Local Search vs. Social Media Posts
-
- 46% of all Google searches are looking for local information.
- 88% of consumers who do a local search on their mobile device visit a store or call within 24 hours.
- Local SEO leads have a higher conversion rate than social media leads.
Unlike social media, where your business competes for attention against distractions, Google searchers have clear buying intent. When a potential customer searches for “plumber near me” or “best HVAC repair in Hudson, NY,” they are actively looking for a solution. This is where an optimized Google Business Profile beats any social media post.
How to Optimize Your Google Business Profile for 2025
-
- Complete and Verify Your Profile – Ensure all business details, including hours, services, and location, are accurate and updated.
- Use Keywords in Your Description & Services – Google uses your description to determine search relevance, so include SEO-rich keywords.
- Regularly Post Updates – Google My Business posts enhance visibility and can act like mini-blog posts to engage searchers.
- Upload High-Quality Photos & Videos – Listings with visuals get 42% more requests for directions and 35% more clicks to websites.
- Encourage & Respond to Reviews – Reviews with targeted keywords boost rankings significantly (covered in detail below).
By optimizing GBP, you dominate local search results, outshining competitors who focus on social media alone.
Website SEO: The Foundation of High-Intent Traffic
Why SEO-Driven Traffic Is More Valuable Than Social Media Traffic
Social media visitors often engage with content passively—liking posts or watching videos—but they are not actively looking for a service or product. SEO traffic, on the other hand, is intentional. When someone searches “best web design agency in Catskill, NY,” they are in the decision-making phase, which is why SEO converts higher than social media ads.
SEO Strategies That Outperform Social Media for 2025
-
- On-Page SEO Optimization – Ensure your website is optimized for keywords, meta descriptions, alt tags, and internal linking.
- Long-Form Blog Content – Create in-depth, keyword-rich content (like this) that ranks high in search engines and drives consistent traffic.
- Mobile & Page Speed Optimization – Google prioritizes fast-loading, mobile-friendly sites in rankings.
- Backlink Building & Authority Development – Getting quality backlinks from industry-related sites improves domain authority.
- AI & Voice Search Optimization – More users are searching with voice commands, so targeting conversational search queries is critical.
By implementing these SEO best practices, businesses drive organic leads 24/7—something social media simply cannot sustain without ad spend.
The Power of SEO-Optimized Reviews & Replies
Why Reviews Matter More Than Social Media in 2025
-
- Google reviews directly impact local search rankings.
- Businesses with 50+ Google reviews rank higher than competitors with fewer reviews.
- Responding to reviews with SEO-rich replies improves visibility and search relevance.
How to Optimize Reviews for SEO and Lead Generation
-
- Ask Customers to Use Keywords in Their Reviews – Example: “Media Pillars built an amazing SEO-optimized website for my HVAC company in Hudson, NY.”
- Reply with Keywords & Location Data – Instead of saying, “Thanks!” write, “We appreciate you choosing Media Pillars for your website design needs in Hudson, NY!”
- Encourage Photo Reviews – Google prioritizes photo reviews in local search rankings.
- Get Reviews on Multiple Platforms – Google, Yelp, and industry-specific review sites all contribute to your overall credibility.
These review optimization techniques amplify local search presence, making GBP and reviews more valuable than social media posts.
Final Thoughts: The Future of Digital Marketing for Small Businesses
While social media still has its place in digital marketing, it is no longer the primary driver of leads or revenue for small businesses. Google Business Profile optimization, website SEO, and strategically optimized reviews significantly outperform social media because they cater to users actively searching for solutions.
What Should Small Businesses Do Next?
✅ Shift focus from social media posting to Google Business Profile SEO. ✅ Invest in long-term SEO strategies that generate high-intent leads. ✅ Leverage customer reviews as an SEO-boosting tool. ✅ Use Google’s ecosystem (GBP, Maps, Search) as the primary lead generation source.
By making these strategic shifts, businesses will outperform competitors relying on outdated social media strategies and position themselves for long-term growth and visibility in 2025 and beyond. 🚀
Summary: Why Google Business, SEO, and Optimized Reviews Outperform Social Media in 2025
In 2025, small businesses are seeing a shift away from social media marketing as their primary digital strategy. While social media platforms like Facebook, Instagram, and LinkedIn have limited organic reach and require paid ads to be effective, Google Business Profile (GBP), SEO-driven website traffic, and optimized customer reviews are proving to be far more powerful for lead generation and conversions.
Key Points:
✅ Declining Social Media Effectiveness – Organic reach on platforms like Facebook and Instagram is now less than 2%, requiring constant content creation and paid promotions.
✅ Google Business Profile (GBP) Dominance – 46% of Google searches are local, and GBP optimization ensures businesses show up in high-intent search results.
✅ Website SEO Drives Long-Term Results – Unlike social media posts that fade quickly, SEO content ranks for months or years, bringing in consistent, high-quality traffic.
✅ SEO-Optimized Reviews Boost Rankings – Keyword-rich customer reviews and strategic replies increase Google rankings and drive trust.
✅ Search-Based Marketing Converts Better – Users actively searching for services on Google are far more likely to convert than passive social media scrollers.
Action Plan for Small Businesses in 2025:
✔️ Prioritize Google Business Profile SEO over social media
✔️ Invest in website SEO for sustainable, organic traffic
✔️ Encourage and optimize customer reviews for search visibility
✔️ Leverage Google’s ecosystem (Maps, Search, GBP) for lead generation
By focusing on search-driven marketing strategies, businesses can outperform competitors still relying on outdated social media tactics. 🚀

